Wiring a 3-way switch is a fundamental electrical skill that allows you to control a single light fixture from two different locations. This comprehensive guide provides step-by-step instructions, essential safety precautions, and professional tips to ensure a successful installation.
Tools & Materials Needed for Wiring a 3-Way Switch
Before starting, gather the necessary tools and materials:
Choosing the Right Wire for 3-Way Switch Wiring
- 14/3 NM cable (for 15-amp circuits)
- 12/3 NM cable (for 20-amp circuits)
⚡ Understanding 3-Way Switch Wiring Diagrams
A 3-way switch wiring setup involves:
- Two 3-way switches
- A light fixture
- Three-conductor cable (black, red, white, ground)

Key Terminals in a 3-Way Switch
| Terminal | Function |
|---|---|
| Common (dark screw) | Connects to power or light |
| Traveler (brass screws) | Connects switches together |
Wiring Configurations
- Power at Switch 1 (Hot wire enters first switch)
- Power at Light Fixture (Hot wire enters the light first)
🛠 Step-by-Step Wiring Process for a 3-Way Switch
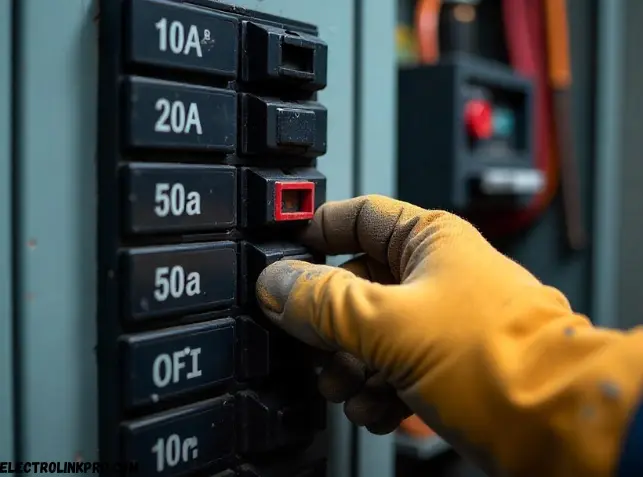
Step 1: Turn Off Power & Verify
- Shut off the circuit breaker.
- Use a voltage tester to confirm no live wires.
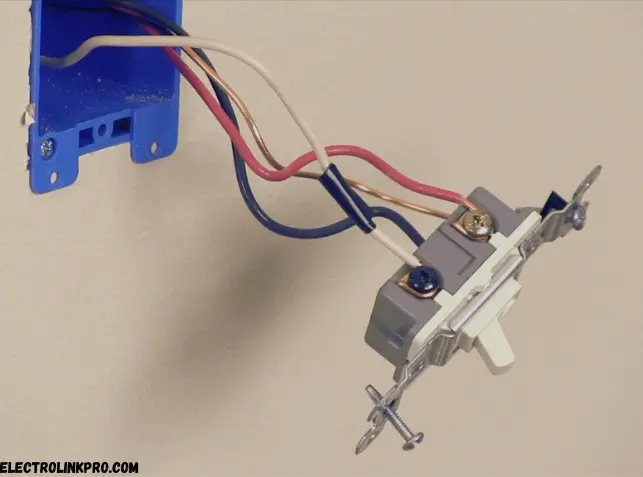
Step 2: Run 3-Conductor Cable Between Switches
- Connect black (hot), red (traveler), white (neutral), and ground wires.
Step 3: Connect Wires to First 3-Way Switch
- Common terminal (black screw): Connect hot wire (from power source).
- Traveler terminals (brass screws): Connect red and black wires.
- Ground wire: Attach to green screw.
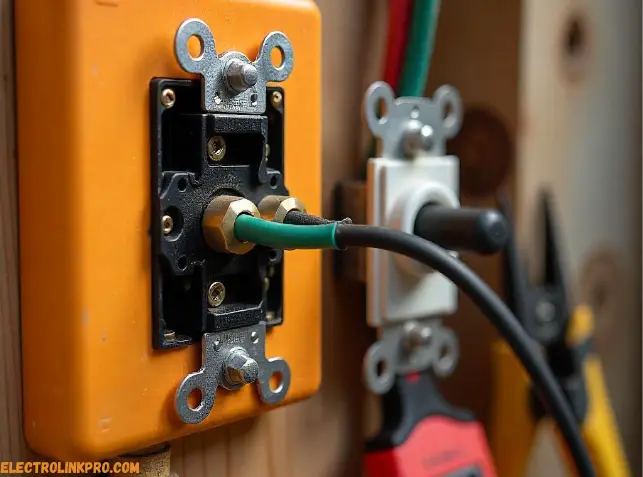
Step 4: Connect Wires to Second 3-Way Switch
- Common terminal: Connect to the light fixture’s black wire.
- Traveler terminals: Connect to the remaining red and black wires.
- Ground wire: Secure to the green screw.
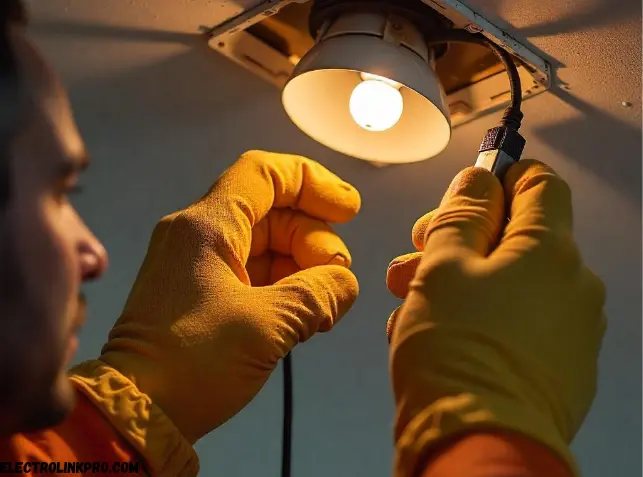
Step 5: Connect Light Fixture
- Black wire: To second switch’s common terminal.
- White wire: Neutral connection (wire nut).
- Ground wire: Secure to grounding screw.
Step 6: Test the 3-Way Switch Setup
- Restore power and test both switches.
⚠ Safety Precautions When Wiring a 3-Way Switch
✔ Always turn off power before working.
✔ Use a voltage tester to confirm wires are dead.
✔ Secure wire connections with wire nuts.
✔ Follow local electrical codes.
🔍 Common Mistakes & Troubleshooting Tips
❌ Common Wiring Errors
- Reversed traveler wires (swap red & black if light doesn’t work).
- Loose connections (check wire nuts).
- Incorrect common terminal wiring (verify black screw connections).
✅ Troubleshooting a 3-Way Switch
🔹 Light doesn’t turn on? Check breaker and connections.
🔹 Only one switch works? Verify traveler wire connections.
💡 Conclusion:
Mastering 3-way switch wiring requires careful attention to electrical principles and safety protocols. This guide has covered essential components, wiring configurations, and troubleshooting methods to ensure successful installation. Remember that proper wire identification, secure connections, and thorough testing are critical for safe operation.
While DIY installation is achievable for confident homeowners, complex scenarios or older wiring systems may require professional assistance. Always prioritize safety by shutting off power, using proper tools, and following electrical codes. With this knowledge, you can create convenient lighting control systems that meet both functional needs and safety standards.
🔧 Ready to install? Print this guide or bookmark it for reference during your project!
❓ FAQs on Wiring a 3-Way Switch
1. Can I use a 2-wire cable for a 3-way switch?
No, a 3-conductor cable (14/3 or 12/3) is required for traveler wires.
2. Why does my 3-way switch only work one way?
Check traveler wire connections—they may be reversed.
3. What’s the difference between a 3-way and 4-way switch?
A 3-way switch works with two switches, while a 4-way switch allows control from three or more locations.
4. Can I replace a 3-way switch with a smart switch?
Yes, but ensure the smart switch supports 3-way wiring.
5. Why is my 3-way switch buzzing?
Loose wiring or a failing switch—tighten connections or replace the switch.