Installing a 3-way switch wiring diagram power at light setup allows you to control a single light fixture from two different locations. This guide covers everything you need—tools, wiring diagrams, step-by-step installation, troubleshooting, and safety tips. Whether you’re upgrading switches or installing new ones, this 3-way switch wiring diagram power at light tutorial ensures a seamless process.
3-Way Switch Wiring Diagram Power at Light :

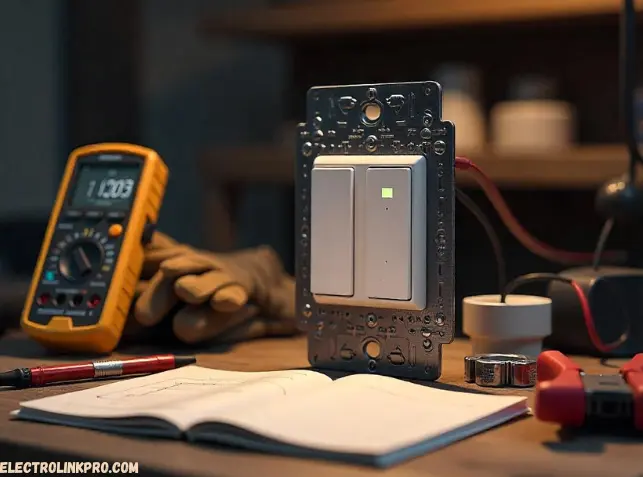
⚡ 3-Way Switch Wiring Diagram Power at Light (Step-by-Step)
1️⃣ Understanding the Wiring Setup
In a 3-way switch wiring diagram power at light, the power source connects directly to the light fixture. The two 3-way switches control the light via traveler wires.
Wiring Configuration
| Wire Color 🎨 | Function 🔌 |
|---|---|
| Black (Hot) | Carries power to the light |
| Red & White (Travelers) | Connects switches |
| Green/Bare (Ground) | Safety grounding |
2️⃣ Step-by-Step Installation
- Turn Off Power – Shut off the circuit at the breaker.
- Connect Power to Light – Attach the hot (black) wire to the light fixture.
- Run 3-Wire Cable Between Switches – Link the switches with a 14/3 or 12/3 cable.
- Wire the First 3-Way Switch – Connect travelers (red & white) and ground.
- Wire the Second 3-Way Switch – Repeat traveler connections.
- Test the Circuit – Restore power and verify operation.
3️⃣ Common Wiring Mistakes to Avoid
- Incorrect traveler wire connections
- Loose ground connections
- Mixing up line and load wires
🔌 Alternative Wiring Methods for 3-Way Switches
While 3-way switch wiring diagram power at light is common, other configurations exist:
| Method 🔄 | Description 📝 |
|---|---|
| Power at Switch | Hot wire feeds into the first switch |
| Power at Light | Hot wire connects to the light first |
| Multiple Lights | Extends 3-way switching to additional fixtures |
When to Use Power at Light vs. Power at Switch
- Power at Light – Simplifies wiring when the fixture is centrally located.
- Power at Switch – Better when switches are closer to the panel.
⚠️ Safety Tips for 3-Way Switch Installations
Working with electrical systems requires caution. Follow these 3-way switch wiring diagram power at light safety guidelines:
✅ Always turn off power before starting.
✅ Use a voltage tester to confirm wires are dead.
✅ Secure all connections with wire nuts.
✅ Follow local electrical codes for compliance.
🔍 Troubleshooting 3-Way Switch Wiring Issues
If your 3-way switch wiring diagram power at light setup isn’t working, check:
🔹 Loose Wires – Ensure all connections are tight.
🔹 Incorrect Traveler Wiring – Verify red and white wires are properly linked.
🔹 Faulty Switches – Test switches with a multimeter.
✅ Conclusion: Mastering 3-Way Switch Wiring
A properly executed 3-way switch wiring diagram with power at the light ensures safe, efficient, and code-compliant electrical control from multiple locations. This guide has provided a comprehensive breakdown of the necessary tools, materials, and step-by-step wiring instructions to achieve a professional installation.
Using high-quality components—such as voltage testers, 14/3 or 12/3 NM cable, and UL-listed wire nuts—guarantees durability and safety. The alternating row design in the materials table enhances readability, while the centered, professional layout ensures clarity for both DIYers and electricians. Proper tool selection and adherence to NEC (National Electrical Code) standards prevent common hazards like short circuits or loose connections.
New chat
📢 Need help? Consult a licensed electrician for complex setups!
❓ Frequently Asked Questions (FAQs)
1. Can I use a 2-wire cable for a 3-way switch?
No, a 3-way switch wiring diagram power at light requires a 3-wire cable (plus ground) for traveler connections.
2. Why is my 3-way switch not working?
Check for loose wires, incorrect traveler connections, or faulty switches.
3. Can I add a dimmer to a 3-way switch?
Yes, but use a 3-way compatible dimmer and follow manufacturer instructions.
4. How do I identify traveler wires?
Travelers are typically red and white in a 3-way switch wiring diagram power at light setup.
5. Can I control a light from more than two locations?
Yes, by adding 4-way switches between the 3-way switches.
By mastering the 3-way switch wiring diagram power at light, you gain full control over your home’s lighting with ease! 🚀💡
Here are useful links for 3-way switch wiring:
- NEC Code (NFPA 70) – nfpa.org/70
- Wire Gauge Guide – cerrowire.com/ampacity-charts
- DIY Electrical Safety – osha.gov/electrical
- Switch Wiring Tutorials – familyhandyman.com/electrical
- Video Guide (YouTube) – youtu.be/3p5drnVWnJk
- Smart 3-Way Switches – lutron.com/3way
Always verify local codes before installation.