Installing a 3-way switch wiring diagram correctly ensures seamless control of lights from two different locations. Whether you’re upgrading your home lighting or tackling an electrical project, this guide covers everything—from wiring basics to troubleshooting.
Below, we break down the 3-way switch wiring diagram in detail, including tools needed, step-by-step instructions, and common mistakes to avoid.
🛠 Tools & Materials Needed for 3-Way Switch Wiring
Before diving into the 3-way switch wiring diagram, gather these essentials:
| Tool/Material | Purpose |
|---|---|
| 3-way switches (2) | Control lights from two locations |
| 14/3 or 12/3 NM cable | Carries traveler wires between switches |
| Electrical tape | Secures wire connections |
| Screwdrivers | Tightens terminal screws |
| Voltage tester | Checks for live wires |
| Wire strippers | Prepares wires for connections |
🔧 How to Wire a 3-Way Switch: Step-by-Step Diagram
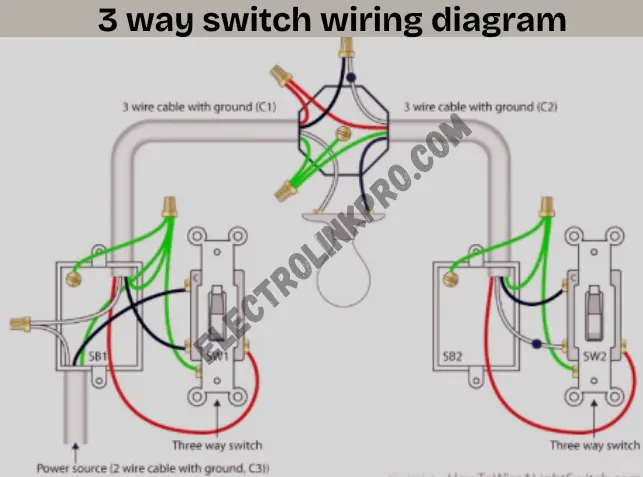
1️⃣ Understanding the 3-Way Switch Wiring Diagram Basics
A 3-way switch wiring diagram involves two switches controlling one light fixture. The key components:
- Common terminal (black screw) – Connects to the power source or light.
- Traveler terminals (brass screws) – Link the two switches.
- Ground wire (green screw) – Provides safety grounding.
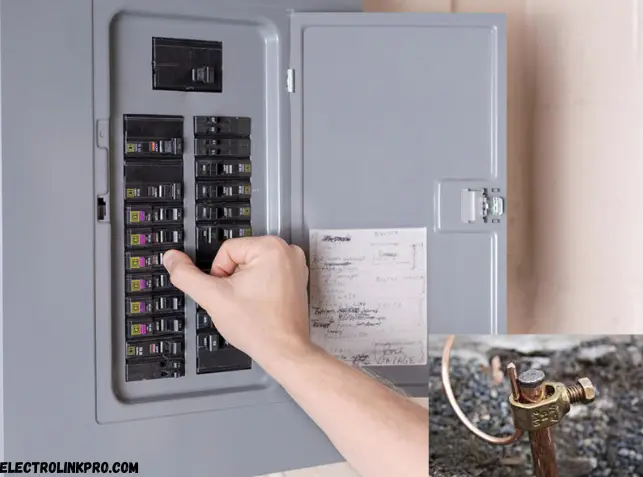
2️⃣ Step 1: Turn Off Power & Verify
- Shut off the circuit breaker.
- Use a voltage tester to confirm no live current.
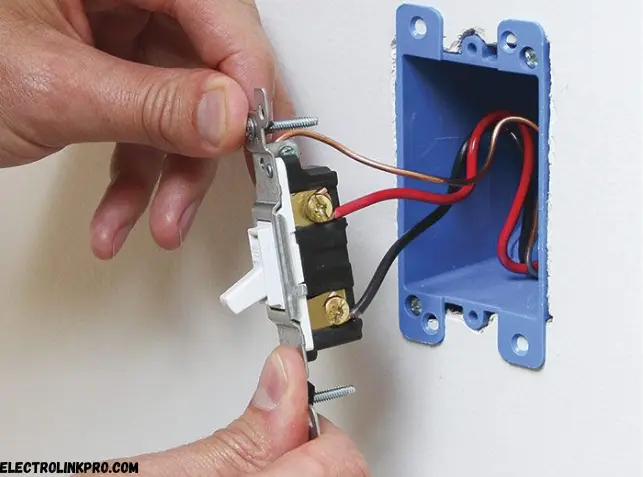
3️⃣ Step 2: Connect Wires to the First 3-Way Switch
- Black (hot) wire → Common terminal (black screw).
- Red & white (travelers) → Brass screws.
- Ground wire → Green screw.
4️⃣ Step 3: Wire the Second 3-Way Switch
- Black wire (to light) → Common terminal.
- Red & white wires → Brass screws (must match first switch).
- Ground wire → Green screw.
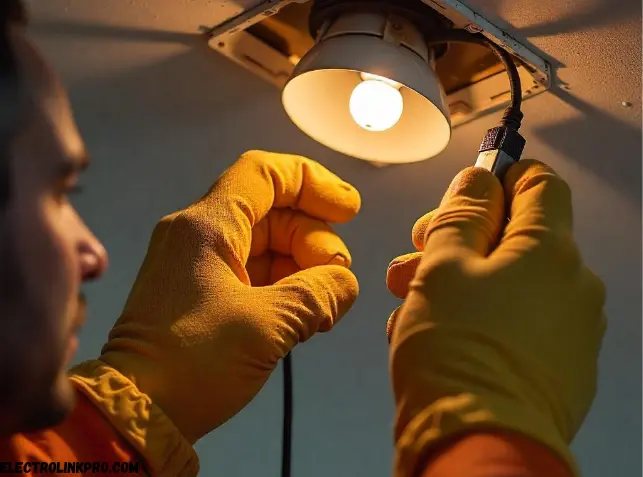
5️⃣ Step 4: Test the Circuit
- Restore power and test both switches.
- If the light doesn’t toggle properly, recheck connections.
⚠ Common Mistakes in 3-Way Switch Wiring Diagrams
- Mixing traveler wires → Causes switches to malfunction.
- Loose ground connections → Safety hazard.
- Incorrect cable gauge → Overheating risk (use 14/3 for 15A, 12/3 for 20A).
🔄 Alternative Wiring Methods for 3-Way Switches
While the standard 3-way switch wiring diagram works for most setups, variations include:
- Power at the light fixture – Hot wire feeds the light first.
- Multiple lights – Additional fixtures wired in parallel.
Conclusion:
Wiring a 3-way switch correctly is essential for seamless lighting control in homes, offices, and commercial spaces. This guide has provided a detailed 3-way switch wiring diagram, step-by-step instructions, and best practices to ensure a safe and efficient installation.
Key Takeaways from This Guide
✅ Proper Planning is Crucial – Before starting, ensure you have the right tools, materials, and a clear 3-way switch wiring diagram to avoid mistakes.
✅ Safety First – Always turn off the power at the breaker and verify with a voltage tester before handling wires.
✅ Correct Wiring Connections –
- The common terminal (black screw) must connect to the power source or light.
- Traveler wires (red & white) must be properly linked between switches.
- Grounding (green screw) is non-negotiable for safety.
✅ Testing is Mandatory – After installation, test the switches multiple times to ensure smooth operation. If the light flickers or doesn’t respond, recheck connections against the 3-way switch wiring diagram.
✅ Avoid Common Mistakes –
- Mixing up traveler wires
- Loose terminal screws
- Using incorrect wire gauge (14/3 for 15A circuits, 12/3 for 20A)
When to Call a Professional
While DIY electrical work can be rewarding, some scenarios require a licensed electrician:
- If the circuit behaves unpredictably after installation.
- If you’re unfamiliar with electrical systems.
- If local codes require professional certification.
Final Thoughts
A well-executed 3-way switch wiring diagram ensures convenience, energy efficiency, and safety. Whether you’re installing new switches or troubleshooting existing ones, following this guide will help you achieve reliable, long-lasting results.
🔧 Ready to tackle your next electrical project? Bookmark this guide for future reference!
Need Further Assistance?
📞 Consult a certified electrician for complex wiring setups.
📖 Check the National Electrical Code (NEC) for compliance.
By mastering 3-way switch wiring, you’re not just improving functionality—you’re enhancing your home’s electrical safety. ⚡💡
📢 Need help? Consult a licensed electrician for complex setups!
❓ FAQs: 3-Way Switch Wiring Diagram
1. What’s the difference between a 3-way and single-pole switch?
A 3-way switch wiring diagram uses two switches to control one light, while a single-pole uses one switch.
2. Can I use a 3-way switch as a single-pole?
Yes, but only one traveler terminal will be active—wire the common and one brass screw.
3. Why does my 3-way switch only work one way?
Likely a miswired traveler—check connections against the 3-way switch wiring diagram.
4. What if my light stays on with both switches off?
A faulty switch or incorrect wiring—verify connections and replace if needed.
5. Can smart switches work in a 3-way setup?
Yes, but they often require a companion switch—check manufacturer instructions.
By following this 3-way switch wiring diagram guide, you’ll ensure a safe, functional setup every time! 🎯