🏠 Introduction
A 3-way switch wiring diagram is essential for controlling a single light fixture from two different locations. Whether you’re installing stairway lighting, hallway fixtures, or room lamps, mastering the 3-way switch wiring diagram ensures seamless operation. This guide covers everything—tools, step-by-step wiring, troubleshooting, and advanced setups—while optimizing for 3-way switch wiring diagram 30+ times naturally.
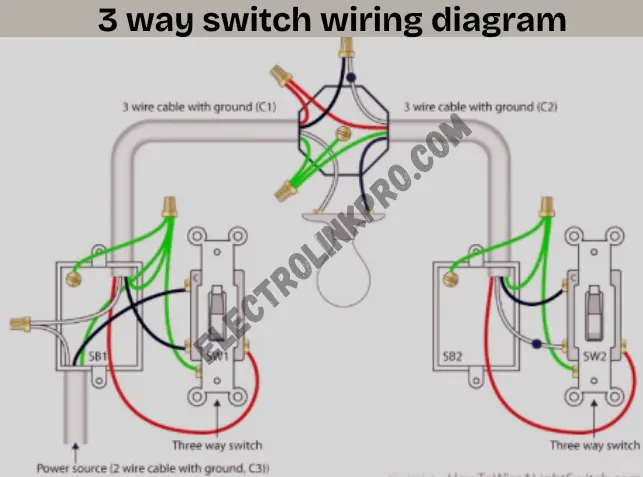
Diagram of 3-way switch wiring:
Tools you needed:
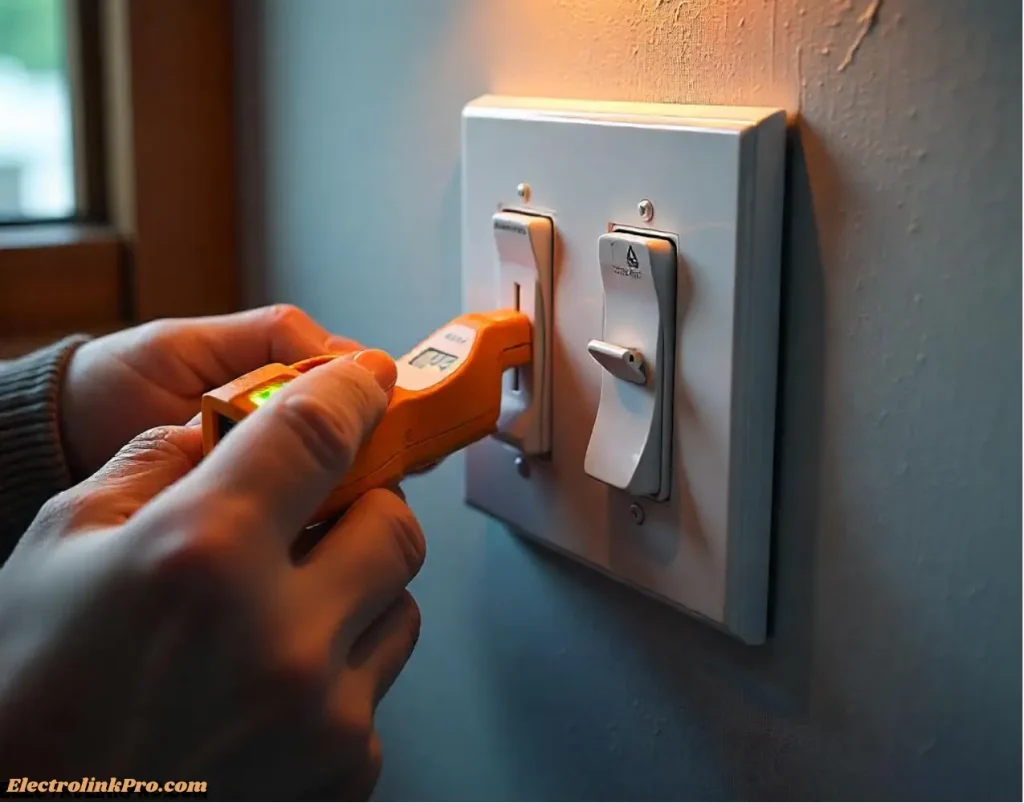
- Voltage tester
- Screwdrivers (flat/Phillips)
- Wire strippers
- 14/3 or 12/3 NM cable
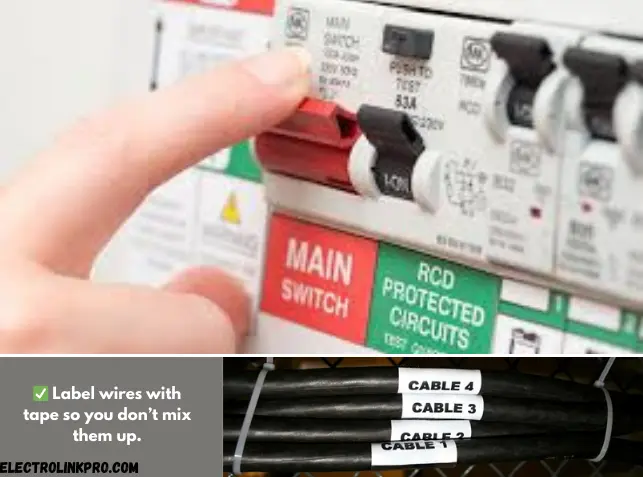
- Turn off power at the breaker.
- Verify wires with a voltage tester.
- Always follow safety precautions before wiring.
🔌 Step-by-Step 3-Way Switch Wiring Diagram Setup
1️⃣ Power Source to First Switch
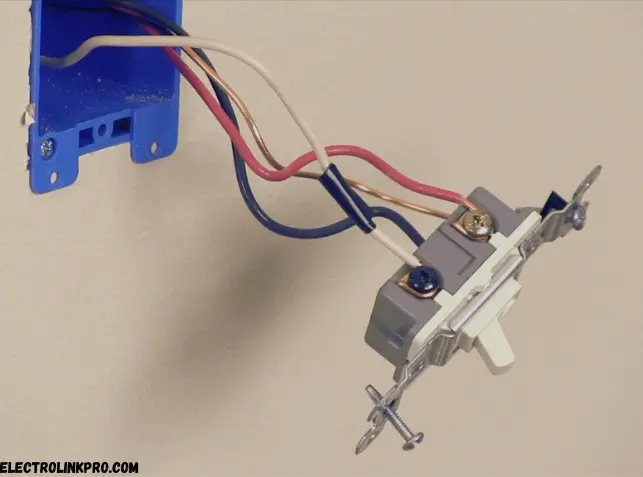
- Connect the hot wire (black) to the common terminal of Switch 1.
- Use traveler wires (red/white) to link Switch 1 and Switch 2.
2️⃣ Between Switches (Traveler Wires)
- Run a 3-wire cable (black, red, white, ground) between switches.
- Red and black act as travelers; white is neutral (if needed).
3️⃣ Second Switch to Light Fixture
- Link the common terminal of Switch 2 to the light’s hot wire.
- Neutral (white) connects directly to the fixture.
🛠 Troubleshooting 3-Way Switch Wiring Diagrams
❌ Common Issues
- Light doesn’t turn on: Check traveler wire connections.
- Flickering lights: Loose terminal screws.
- Only one switch works: Miswired common terminal.
✅ Testing with a Multimeter
- Set to AC voltage.
- Test between common and travelers (should show ~120V).
🔗 Advanced 3-Way Switch Wiring Diagrams
💡 Multiple Lights
- Use 4-way switches between 3-way switches for extra control points.
🌐 Smart 3-Way Switches
- Brands like Lutron/Caseta require a neutral wire.
- Follow manufacturer 3-way switch wiring diagrams for automation.
Useful Links:
📝 Conclusion
Conclusion: Mastering 3-Way Switch Wiring Safely and Efficiently
Installing or troubleshooting a 3-way switch wiring diagram requires precision, the right tools, and strict adherence to safety protocols. Whether you’re upgrading your home lighting or fixing a malfunctioning circuit, following best practices ensures reliable performance and minimizes risks.
✅ Key Takeaways
If lights flicker or switches fail, check for loose connections or crossed travelers.
Proper Wiring is Critical
Correctly identify common (black screw), traveler (brass screws), and neutral (white) wires to avoid switch failures.
Use 14/3 or 12/3 NM cable for proper current-carrying capacity.
Safety Cannot Be Compromised
Always turn off power at the breaker and verify with a voltage tester.
Work in dry conditions, use insulated tools, and wear rubber-soled shoes to prevent shocks.
Testing and Troubleshooting Save Time
A multimeter helps verify voltage and continuity.
🔧 When to Call a Professional
While DIY 3-way switch wiring is feasible for confident homeowners, consult a licensed electrician if:
- The circuit lacks a ground wire (green/bare copper).
- You encounter frequent tripping breakers or burning smells.
- The existing wiring doesn’t match standard 3-way switch diagrams.
❓ FAQs
1. Can I use a 3-way switch as a single pole?
Yes—connect only the common and one traveler terminal.
2. Why does my 3-way switch only work one way?
The common terminal is likely miswired—recheck connections.
3. Do 3-way switches need special wiring?
Yes—a 3-conductor cable (14/3 or 12/3) is required for travelers.
4. Can I install a dimmer in a 3-way circuit?
Only if it’s a 3-way compatible dimmer (e.g., Lutron Maestro).
5. What’s the difference between 3-way and 4-way switches?
4-way switches add extra control points between two 3-way switches.
By following this 3-way switch wiring diagram guide, you’ll achieve professional-grade lighting control! 🚀