Installing a 3-way light switch wiring system allows you to control a single light from two different locations—perfect for staircases, hallways, and large rooms. This detailed guide covers wiring diagrams, tools needed, step-by-step installation, troubleshooting, and advanced setups to ensure a flawless installation.
📊 3-Way Light Switch Wiring Diagram (Basic Setup)
| Wire Type | Function | Color Code |
|---|---|---|
| Hot (Line) Wire | Brings power from the breaker panel | Black |
| Traveler Wires | Connects both 3-way switches | Red & Black (or both Black) |
| Neutral Wire | Completes the circuit | White |
| Ground Wire | Safety grounding | Green/Bare Copper |
🔄 How Current Flows in a 3-Way Circuit
- Power enters at the first switch’s common terminal.
- Traveler wires carry the signal between switches.
- The second switch directs power to the light.
- Flipping either switch toggles the light on/off.

🧰 Tools & Materials Needed for 3-Way Light Switch Wiring
Before starting, gather these essentials
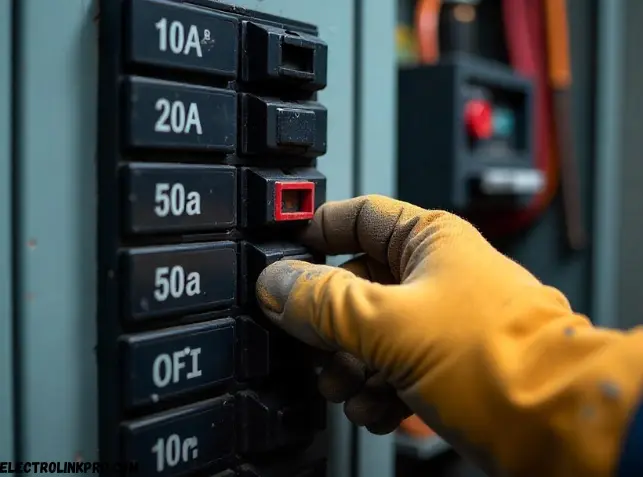
⚠️ Safety First: Always turn off the circuit breaker and test wires before working!
🔧 Step-by-Step 3-Way Light Switch Wiring Installation
1️⃣ Turn Off Power & Prepare Wires
- Locate the correct breaker and shut off power.
- Use a voltage tester to confirm no live current.
- Remove old switches (if replacing) and label wires for clarity.
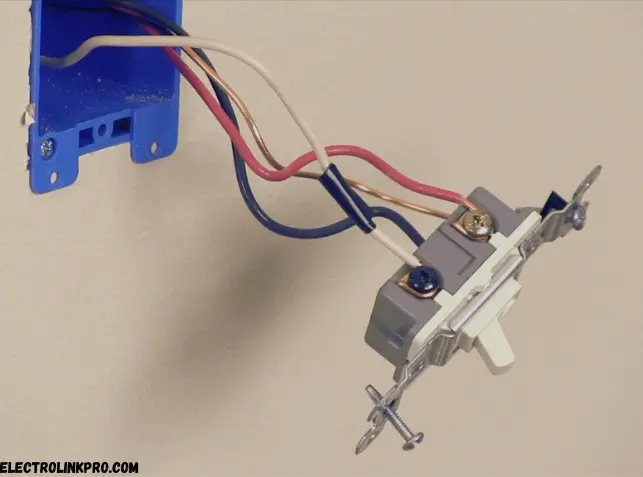
2️⃣ Identify & Connect Wires at First Switch
- Common Terminal (Black Screw): Connect the hot (line) wire (black).
- Traveler Terminals (Brass Screws): Attach the red & black traveler wires.
- Ground (Green Screw): Secure the bare/green ground wire.
3️⃣ Wire the Second 3-Way Switch
- Common Terminal: Connect to the black wire leading to the light.
- Traveler Terminals: Match the same red & black wires from the first switch.
- Ground Wire: Secure properly.
4️⃣ Connect the Light Fixture
- Black (Hot) Wire: Attach to the second switch’s common terminal.
- White (Neutral) Wire: Connect to other neutrals in the box.
- Ground Wire: Secure to the grounding system.
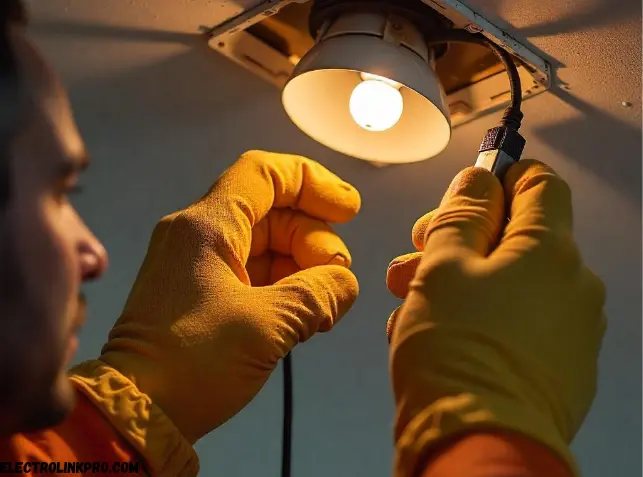
5️⃣ Test the Circuit
- Restore power and test both switches.
- If the light doesn’t work:
- Check traveler wire connections.
- Verify common terminal wiring.
⚡ Advanced 3-Way Light Switch Wiring Configurations
🔹 Adding a 4-Way Switch (For 3+ Control Points)
- Install a 4-way switch between two 3-way switches.
- Uses four terminals to route traveler wires.
🔹 Smart 3-Way Switches (Wi-Fi/Zigbee Control)
- Replace one switch with a smart switch (e.g., Lutron Caséta, Kasa).
- Requires a neutral wire (white) for proper operation.
🚨 Common 3-Way Light Switch Wiring Mistakes & Fixes
| Issue | Cause | Solution |
|---|---|---|
| Light only works from one switch | Traveler wires reversed | Swap red & black at one switch |
| Flickering or intermittent operation | Loose wire connections | Tighten all terminal screws |
| Switch feels warm/hot | Overloaded circuit or faulty switch | Check amp rating & replace if needed |
� Conclusion: Master 3-Way Switch Wiring for Perfect Lighting Control
By following this guide, you can confidently install 3-way light switch wiring for seamless multi-location lighting. Always:
✅ Turn off power before working
✅ Double-check traveler wire connections
✅ Test switches before finalizing installation
🔧 Need more help? Consult an electrician for complex setups!
❓ FAQs About 3-Way Light Switch Wiring
1. Can I use a dimmer with a 3-way switch?
✅ Yes, but only one switch should be a dimmer (the other must stay a standard 3-way).
2. Why does my 3-way switch only work one way?
🔧 Traveler wires may be reversed—swap them at one switch.
3. Do smart 3-way switches need special wiring?
⚡ Most require a neutral wire—check your home’s wiring before buying.
4. Can I convert a 3-way switch to a single-pole?
🔄 Yes, but cap off the unused traveler wire and connect only the common terminal.
5. What’s the difference between 3-way and 4-way switches?
🔌 3-way = 2 switches control 1 light | 4-way = 3+ switches control 1 light.
By following this detailed 3-way light switch wiring guide, you’ll ensure a safe, efficient, and professional installation! 💡🔌